- HOME
- Newborn Photography
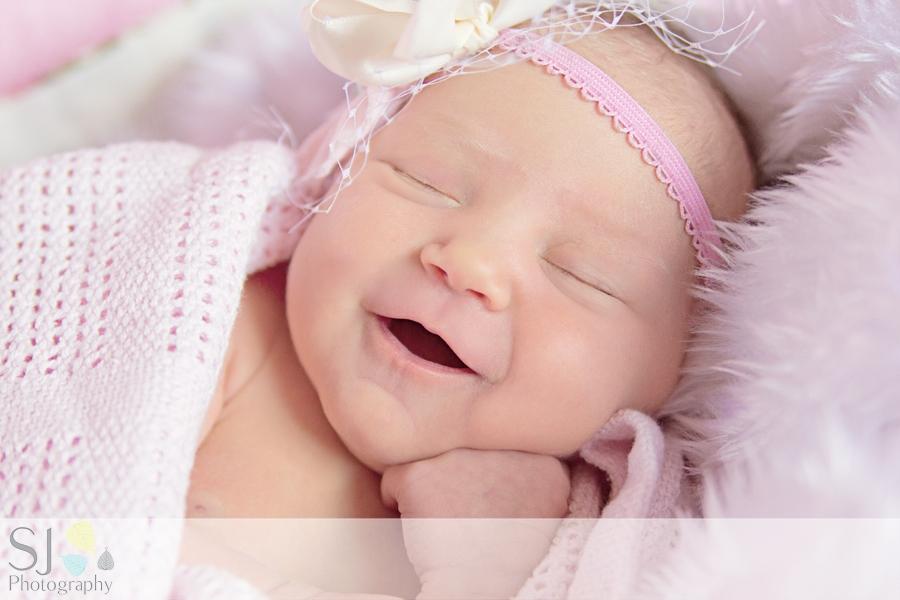
How to Do Newborn Photography At Home
Thinking about doing newborn photography at home? Sounds perfect! The arrival of a newborn into your family is meant to be one of the most amazing moments. It is also a time of great hustle for both the parents. Amidst that, it is easy to neglect or look over the finer moments of your newborn’s initial days at home. It is for this reason, that newborn photography seems just the right solution to capture those fleeting moments.
One thing is inevitable - a few years down the line, those newborn days would turn blur and fuzzy. This is particularly true for moms who are going through so much – physically, mentally, and emotionally!
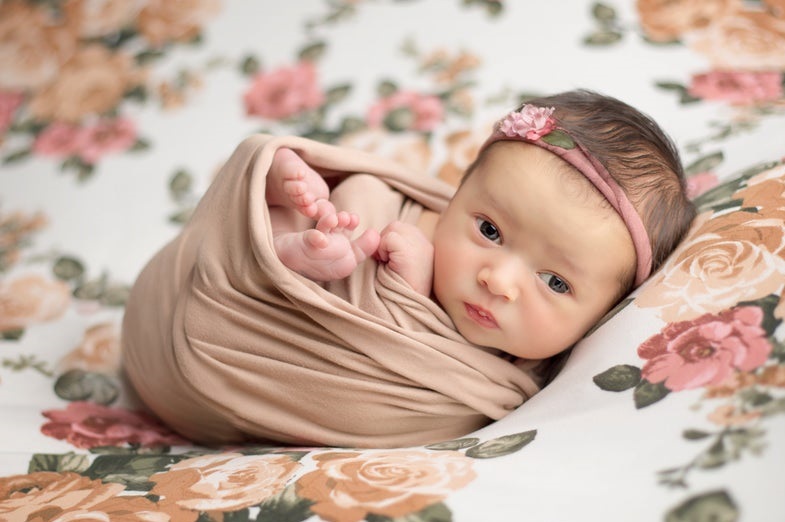
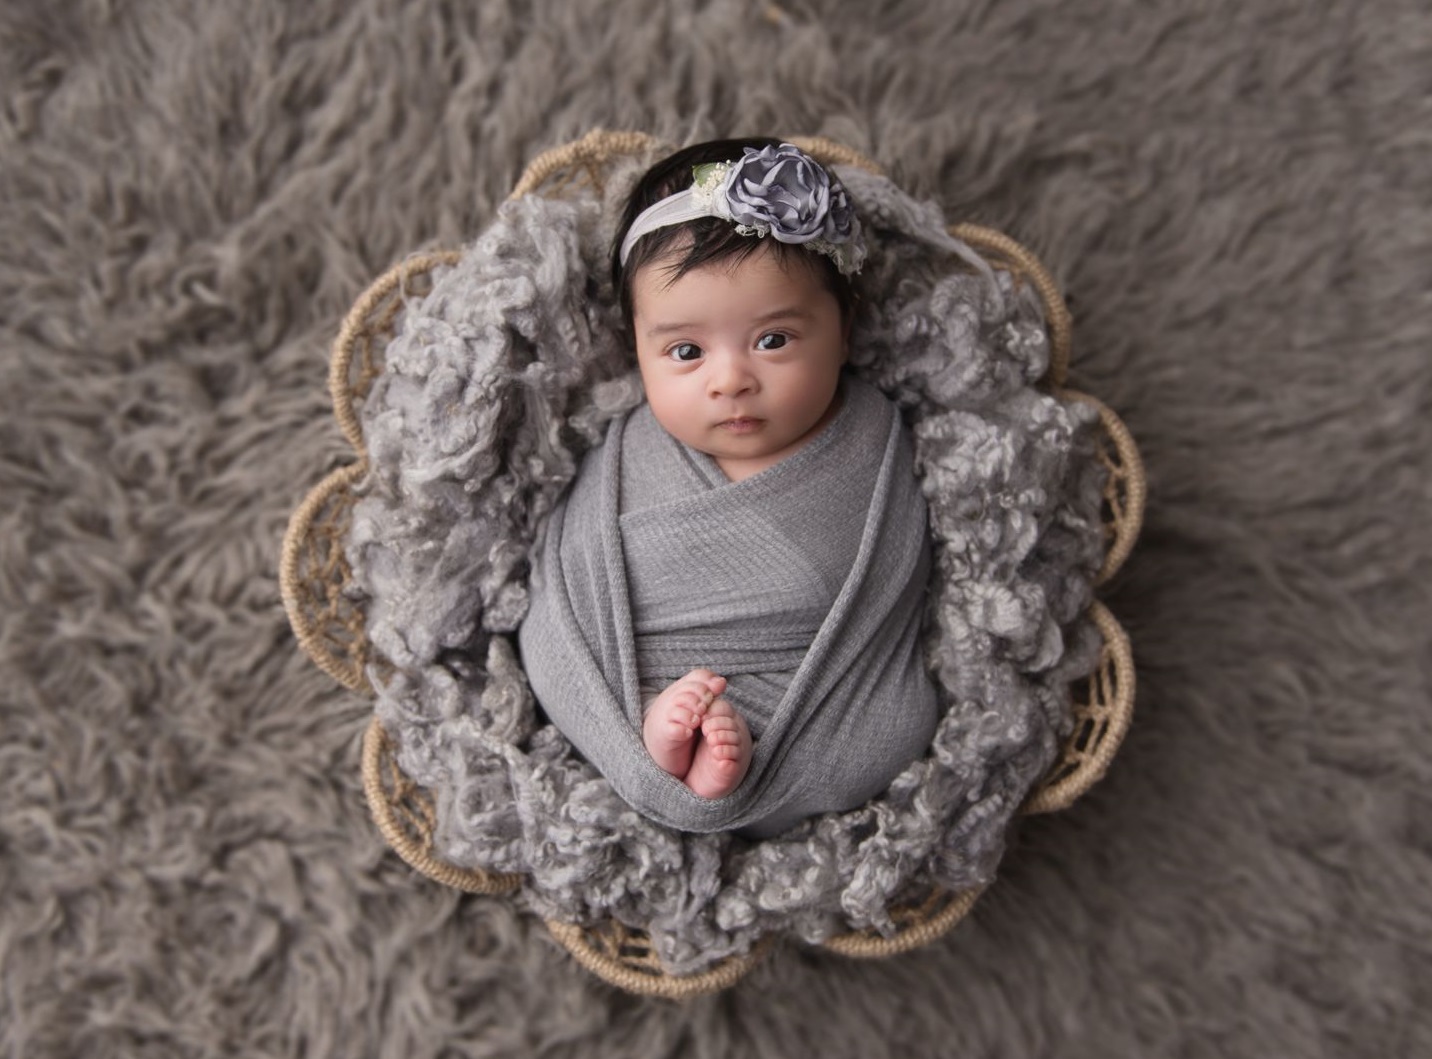
It is for all the above reasons and more that parents decide to commemorate the birth of their little bundle of joy. And what better way to do it than by incorporating a newborn baby photoshoot into the mix of things. That way, you ensure that you capture those precious little details of your baby forever; their wrinkly skin, the crooked smiles, heart-warming yawns and not to forget, those tiny little hands and feet!
After all those years, when you (and your grown-up newborn) look back at those newborn baby pictures, it is bound to bring back tons of memories and yearning.
You have two choices when it comes to baby photography. Either you can get help from a professional newborn photographer (which will come at a cost but ease the process for you) or, choose to do it yourself (DIY). DIY can be really exciting and fun, provided you have done some research, and both of you, as parents, are happy to do so. The last thing you both need is to fight over the specifics of your baby photoshoot!
If it is a DIY newborn photography, then try to think through it together with your partner, from inception to end. Also, there are technicalities and preparation associated with the process. It will serve you best if you understand them properly, to ensure a smooth and seamless session, each time you pick up that camera.
Remember, this newborn photography is meant to be fun and celebratory for the entire family! Get involved and ensure that you keep the following tips in mind that we have prepared to assist you with this process and to make it stress-free. Happy clicking!
Top 10 Newborn Photography Tips
1. Take Your Time.
One of the best aspects of newborn photography is that you have ample time to figure out schedules and sessions in the days or weeks to come. You are no longer restrained or pressured into a 3-4 hour window to close the shoot and squeeze in all your angles and choices of photos.
Baby birth can be a challenging time for both the parents, requiring rest and recovery. It is not the time to stress yourself by increasing your chores. Rather, you need to allocate time for various activities. Newborn baby photography is no exception and it provides you with that luxury of time. That way, you do not need to rush it and by doing so, you are not exhausted or frustrated.
When you take it slow, you also get to capture the finer details and changes in your baby – both physically and habitually. The photo sessions can span out from birth to up to a month, giving you ample time to click those best shots and get those perfect angles.
Don’t be apprehensive about taking multiple shots of a single pose. The probability of getting that perfect shot increases with the number of photos that you take.
2. Good Lighting Is Key.
Ask any professional newborn photographer to highlight the biggest mistake whilst doing newborn photography, and you will get a unanimous answer: poor lighting.
Lighting can either make or break a good photo. Think about the various options you have when you are doing the photoshoot. One of the best sources is natural sunlight. When you are shooting indoors, then you can also utilize the lamps and home lighting to give you the best results.
Not only does poor lighting make for poor photos, but they also take away the moment you are trying to capture. It completely spoils your newborn’s photo by suppressing their features and finer details. Hence, light plays a big role in a good photo and can turn your photoshoot to be completely counter-productive. That is the last thing you need!
You do not need to worry about purchasing any professional studio equipment to shoot the perfect photos. Just focus on the simplest of things around or within your house (or car for example), and ensure that the photo angles and directions are commensurate with the natural or artificial lights available.
As a general rule, always ensure that the flow of light is on top of your baby’s head and down to their body at an angle of approximately 45 degrees. This is meant to give you nice soft shadows and highlights. You can achieve this by spotting a soft shadow below your newborn’s nose.
There is no harm in experimenting either and you can practice taking photos from a more drastic angle as well. Different angles and perspectives can give you interesting results that you may love. So don’t be over-cautious about those angles and use your best judgment – just avoid up-lighting your baby at all costs, where the lighting is bottom-up and completely blacks out the photos.
3. Baby’s Timings & External Factors.
A happy baby is a key ingredient to an endearing baby photo. When you are shooting indoors, it is crucial to keep the shooting room properly warm and cozy by increasing the central heating thermostat of your home. Try using portable heaters if you need to, to get that room temperature right. If its summers, then you may get lucky as the temperature may just be the right one naturally, without you needing to take those extra steps.
Using white noise during the newborn photography is also effective. These soothing sounds can be easily downloaded from the internet or played on to your phones or electronic devices. This helps keep the baby asleep, despite slight disruptions and noises around it.
Another tip is stating the obvious - please make sure that your baby’s tummy is full. Needless to say, a hungry baby will keep waking up in between the shoot and cry incessantly. This can be frustrating and disrupting for all concerned.
Lastly, know your baby’s routine and try to do the photoshoot when he or she is laziest. You are meant to get more cooperation from them when they are sleepy. That may mean shooting in the wee hours of the morning or during the day. Usually, it is seen that the best slot for newborn photography is between breakfast and lunchtime.
It is always ‘safe’ and prudent to keep their diapers on, whenever it is possible to do so. If you need to remove them, do so quickly and then put them back on. Always stay observant and notice signs of any discomfort associated with their squirmy movements or arching back that will tell you it’s time to put the diaper back on. Always keep a spare diaper ready next to you, just in case. To avoid an ‘accident’, always ensure that you have the particular shot ready before you take off their diaper.
These are simple newborn photoshoot tricks that you can incorporate into your sessions to make them productive and easy.
4. Baby’s Safety First.
We all understand the importance of personal safety. This is more profound when a newborn baby is involved. As with everything that you do relating to your baby, their safety should always be the paramount and first thing on your mind, when you are contemplating newborn photography ideas.
It is always a safe bet to have someone around you to help with the baby when doing newborn photography. Always ask for help when you think you need it. It can be friends, another family member, or an acquaintance willing to assist.
Never leave the newborn unattended or around pets. Always keep your camera fastened around your neck and keep checking it is safe to wear it when taking those close or top shots of the baby.
Moreover, if you rely on simple and natural poses, there are fewer chances of mishaps.

5. Capturing Nuances.
We all have a photographer in us. It is only a matter of discovering it by practicing more and more with the camera.
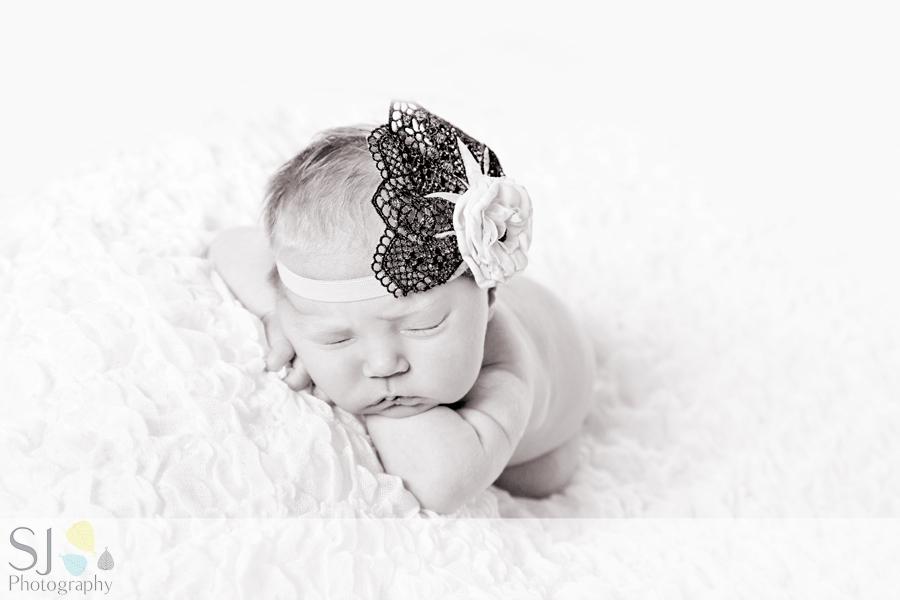
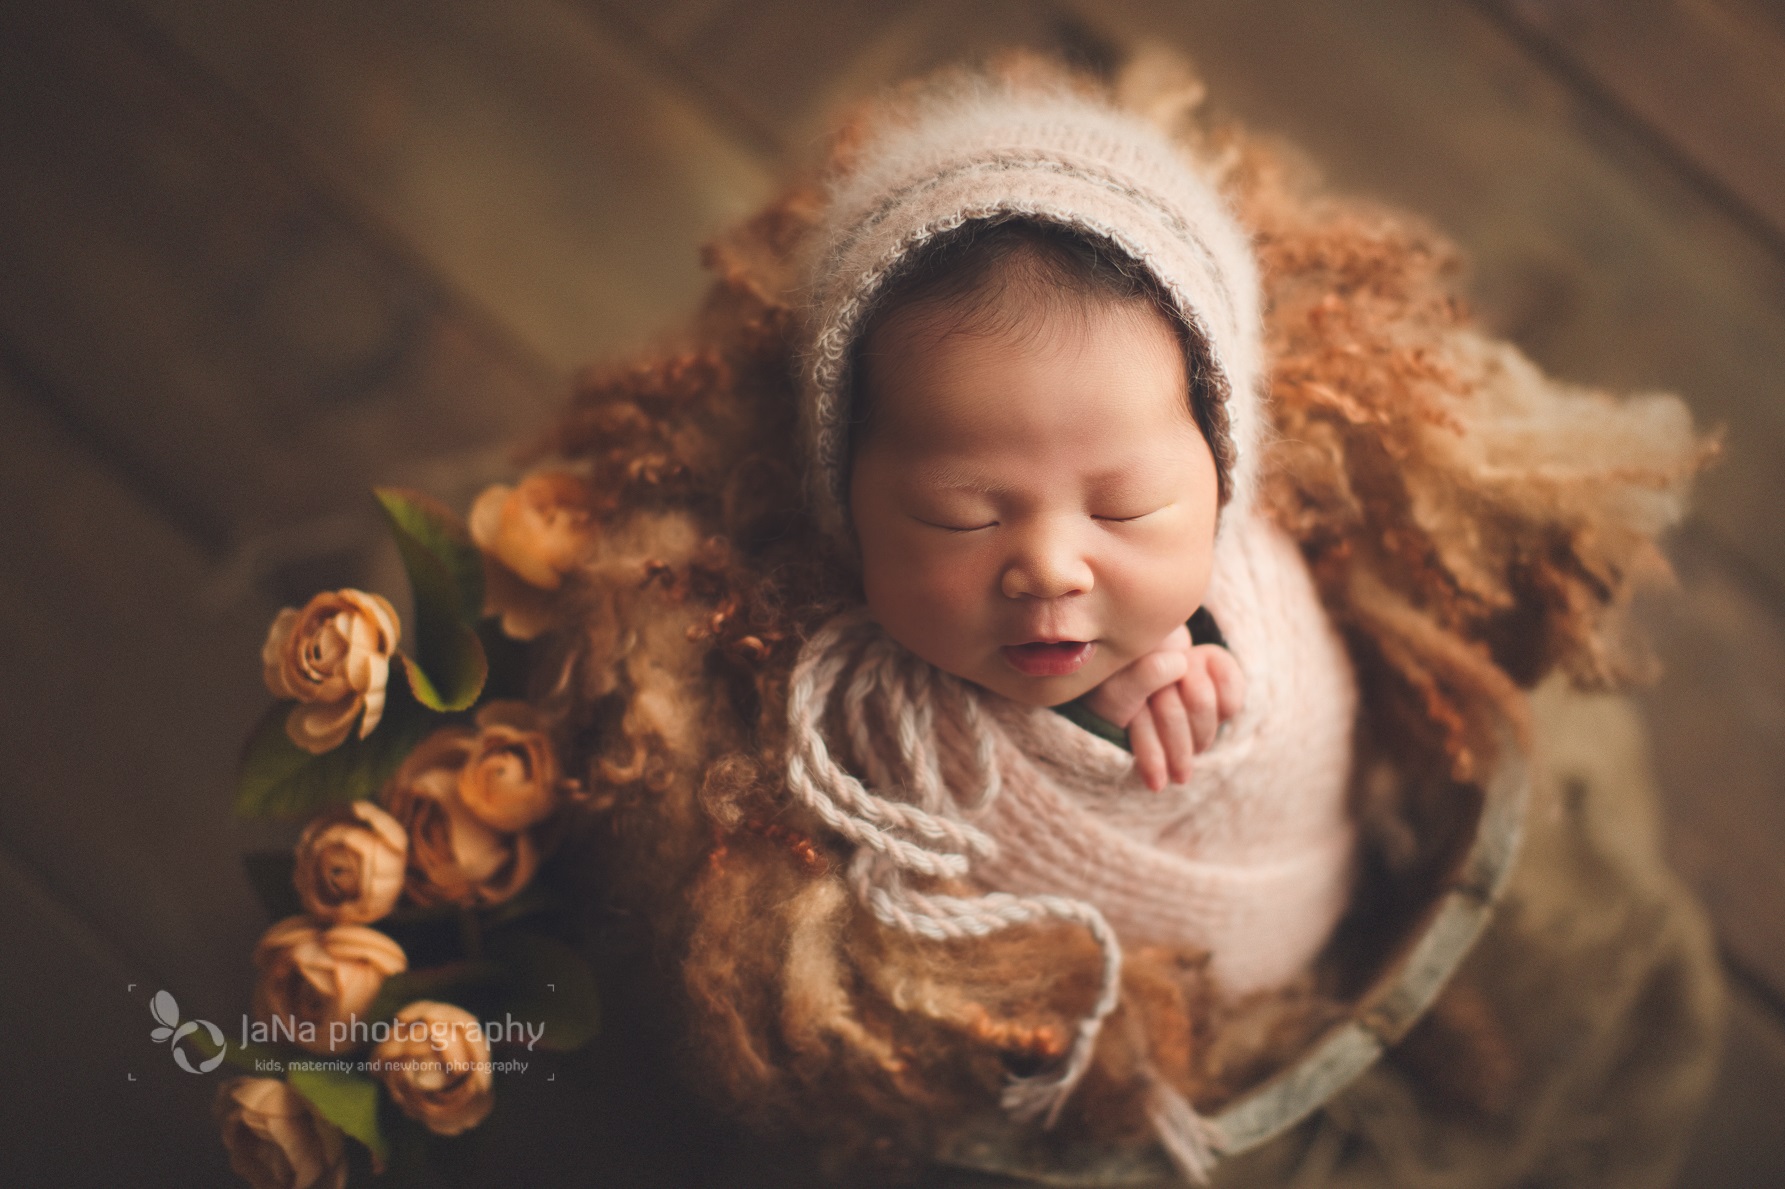
Whilst practicing, you need to notice and observe what looks appealing to the eyes. It is those little details and nuances that need to be spotted and then captured as a moment. It can be anything from the shape of their little nose and ears, sleeping postures, their heart-warming yawn, or those tiny little stretches! These are effectively life long memories that you will cherish whenever you look back at those photos.
Swaddle them tightly so they don’t keep coming out of it. It also makes for a neater and cuter baby picture. Swaddles are super cute, and tighter they are kept, the better the photos.
Using a macro lens (if you have it) is very useful when you are trying to take those close-ups. If you are aiming for wide-open shots, try to close down the aperture setting to f/5.6 or even further, as required. Also, try to use manual focus rather than the autofocus feature. This is meant to improve the overall results of the baby photos. Always keep these macro lenses handy. This will help you quickly capture those close shots that may not last long, depending on the mood and whim of the newborn!
Some of the common features that you may want to focus on with the macro lens would include the nose, lips, eyelashes, ears, toes, fingers, belly button, and hair. These features change so quickly that you would be surprised to see the differences in photos, a few months down the line.
Just try doing different things and you would be surprised with some of the results you get.
6. Toying with Angles & Perspectives.
When you are trying to capture different angles and positioning of your baby, it is best to move around your baby by walking and circling them. This will give you an idea of the different baby pictures you could create. One of the best shots you can get is from behind the baby and from the shadowed side.
Once you have set up your baby for a specific pose, try all different angles and permutations with that pose before you move on to the next. You do not want to waste time re-doing the same poses and setups you have worked with before. This can be frustrating and time-consuming!
A good quality macro lens and a collapsible reflector are two essential tools that you need for an effective newborn photography shoot. A reflector will help you to add lighting at a spot where it is required. It has different sides that are meant to provide you with a variety of light shades. For example, the white side gives softer light, gold side gives warmer light, silver side gives you cooler light and the black side helps prevent reflections from the light. This equipment is collapsible, portable, light-weight, and easy to store too.
Always keep your camera clean and smudge-free for the best results. It is a good idea to hold your breath when pressing the click button of your camera; minimizing the chances of spoiling the photo by shaking it.
7. Outdoors.
If the weather is appropriate, it may be an excellent idea to take your baby outdoors into nature and get some amazing pictures of the newborn.
The studio photos in baskets and blankets can quickly get monotonous and hence, outdoor shoots can be a refreshing change (or addition) to the variety of baby photos that you intend to shoot.
Babies generally enjoy snoozing outside on a warm day. This can help you take some natural photos with the props that you should bring along with you. You can certainly be more creative and adventurous with the outdoor shooting.
8. Siblings.

An ideal newborn photography is incomplete without the addition of siblings. In addition to the newborn’s photos with the entire family, there should also be a separate one with the sibling/s as well. They carry a completely different sentimental and emotional value for the siblings collectively that can be cherished for life. (Read this if your elder child is finding it difficult to adjust with the new baby.)
If the sibling is young, it is probably a good idea to try those laying down poses with them that are simple, safer and easy to execute. With younger siblings, you need to get their shots first and let them go play or do whatever they want. As we all know, little kids can have their tantrums and mood swings, and may not be excited or interested in a shoot, all the time.
If the sibling is older, then it may be safe for them to carry their little brother or sister. This process will invoke a stronger bond between them and the newborn, as they will feel a special and integral part of the family. The arrival of a newborn baby that has suddenly become the center of attraction for everyone, doesn’t sit well with most of the siblings.
9. Photographer’s Photo.
There may be a single person managing the entire process of the photoshoot – like mom, dad, grandparent, or sibling. Do not forget to include yourself in those memories. And do so often. You can achieve this by using auto-photo settings/timer or handing the camera to someone else available to assist you.
If the photographer happens to be the ‘new mom’, then the mom must also get featured in all the important family shots as well as with the newborn. You do not need to be conscious about your pregnancy weight or generally about your physical appearance. After all, all of that is also beautiful in its own special way and part and parcel of the baby’s birth. It should also be saved as a memory – to be cherished by you and your newborn, years down the line.
10. Printing & Backing-Up Newborn Photos.
Once you are done with the digital photos, do not procrastinate in printing those memories out. If needed, try to use photo editors (multiple options available on the internet) to improve the aesthetics of any photo, to your liking.
Do invest in good frames and canvas. These are meant to complement all the hard work you have done with newborn photography. These printed (and often life-size photos) are meant to make your homes livelier and welcoming.
In addition to this, you should also create baby albums or baby book that can feature these photos.
Equally important is to make multiple copies or back-up of those photos in different places, including emails, cloud storage, or special hard drive. The last thing you want is losing those photos, by any means possible! It can be heartbreaking and something that you can never re-create!
Frequently Asked Questions (FAQs):
How do you swaddle a newborn for pictures?
You should swaddle them as tight as possible. This is meant to give you a perfect shot and keeps the baby secure and happy too! Start with a basic swaddle wrap that can hold the baby firmly in one place. You can then try a second swaddle blanket over the first one to create different styles with it. (Click here to learn how to swaddle...)
How do you take good pictures of a newborn?
This is an all-encompassing question. A good newborn picture involves a lot of work and focus. Some of these factors include:
- Taking your time and not rushing the process.
- Ensuring appropriate lighting and adapting to it with every photo.
- Room or outside temperature must be warm and cozy for the newborn and he/she must be well-fed before the shoot.
- Trying different angles and perspectives.
- Using a good quality camera with a macro lens and reflector.
- Mid-mornings are meant to work best with newborns as they are the laziest during that period.
How do you light a newborn photo shoot?
Poor lighting can destroy a baby photo. Always evaluate the sources of your lighting and try using them with different angles and poses, to see what works best.
One of the best sources of light is natural sunlight. Try to work with the best angle of sunlight to get the best results. Avoid direct sunlight as it can be harsh and also create shadows in the photo.
When should newborn photos be taken?
The best period to take newborn photos is from day 1 (birth) up to 1 month thereafter. A lot of professionals recommend taking these newborn babies photos within the first two weeks of birth.
How do you do a newborn photo shoot at home?
The newborn photography can either be done within the comfortable settings of your home or even outdoors.
A home shoot is much easier as you are familiar with the surroundings and have everything accessible to you. The photo props are easily available in and around your home and you can take a lot of inspiration from the items lying around. The temperature settings can also be controlled with the thermostat or a portable heater, to ensure the baby stays comfortable and cozy during the shoot.
All you need for a home photoshoot is a good quality camera (and preferably a macro lens), some props, right timing that is in line with the baby’s sleep routine, and most importantly, a happy and well-fed baby.
What props do I need for newborn photography?
For DIY newborn photography props, you can get a variety of options if you look closely around your house. Some interesting options can be household baskets, blankets, jewelry, hanging stork sacks, hammock, rompers, hats, and headbands to name a few.
Whatever prop you use, please make sure that they are suitably padded for baby’s safety and comfort.
What settings should I use for newborn photography?
Your camera settings are very important for any kind of photography, but more so for newborn photography. This is because you are trying to capture the little details and delicate poses of the newborn and that requires a lot of focus – both from you and your camera!
For sharp photos, use the camera on manual mode with a shutter speed of 1/200 sec. The aperture should be set wide to around f/3.5 (anything wider than this setting will be shallower). Auto ISO / ISO is good at adaptation and helps you with the correct exposure.
If you are trying to achieve a soft-backdrop look and shallow-focus, then your prime lens needs to have a wide maximum aperture setting. You can use a 50mm f/1.4 and a 100mm f/2.8 Macro lens if you like, for best results.
How do you pose a newborn?
One of the best poses for your DIY newborn photography is putting a snoozing baby on their side and then moving the hand positioning to find that endearing pose. If the baby isn’t sleeping, open-eyed photos would look equally adorable in the same pose.
You can try all the other different kinds of poses such as the froggy pose, the tushy-up pose, or the taco pose. These are routinely used by professional photographers and you can try them out. However, these require a lot of practice and safety-related knowledge that you should read and understand before attempting these.
It is always a great idea for DIY newborn photographers to keep things simple and easy.

Conclusion
DIY newborn photography can be a daunting task, but at the same time, it can be rewarding and gratifying too!
There is bound to be something special about newborn photography, as you are meant to capture those moments more personally and with a different eye to detail, with something distinct about each one of them. In the process, you save some money that can be spent on your baby’s other routine expenses.
Remember to take it easy and not overburden yourself with the process. Your newborn’s arrival is meant to be a time for celebration, and photographing them yourself, is an integral part of that celebration.
Time flies by and before you know it, that little bundle of joy would have crossed all the milestones and be ready to become a proud father or mother of your grandchildren! It was only yesterday that I was sitting with my mom, going through our old photo albums featuring my birth photos. It brought back so many memories for my mom that was evident in her tears. In those tears, I saw the magic and nostalgia of newborn photography, as it then was. Newborn photos are, indeed, memories for life!
Return from Newborn Photography to Homepage.

Recent Articles
-
With every newborn baby, a parent is also born!
Apr 25, 24 11:10 PM
 A Complete Guide to Raising a Healthy Newborn Baby...
 -
Disadvantages of Formula Feeding
Apr 09, 21 11:53 AM
 To get an idea about some challenges faced by formula feeding moms, keep in mind theses disadvantages of formula feeding:
 -
Choosing to Bottle Feed
Apr 08, 21 11:42 AM
 If you are choosing to bottle feed, here is all you need to know...
Wanna keep updated?
Sign-up for NewbornHub's monthly newsletter below:
New! Comments
Have something to say about what you just read? Leave me a comment in the box below :)